
Flutter integration with Bitrise, AppCenter and Firebase
Let’s create a solution that integrates your Flutter application with Bitrise and allows for distribution via AppCenter and Firebase.

Let’s create a solution that integrates your Flutter application with Bitrise and allows for distribution via AppCenter and Firebase.
Recently, for our internal project called Kolizja, we decided to abandon building applications on the internal Jenkins server and move the process to Bitrise. Previously we described how this process looks like for iOS development. Now’s the time to check out how it looks like for a Flutter. In this scenario, additionally, we want to integrate Bitrise with App Center and Firebase.
Bitrise gives users the ability to configure the entire building process by creating a workflow consisting of ready-made elements. The whole thing resembles the arrangement of a puzzle. Let see how the whole process looks like:

In this blog post, we’ll concentrate on Flutter related things. The first three steps are universal. We want to import the branch you want to build and import certificates for our application.

For the next steps concerning Flutter, we need to add some environmental variables.
In most cases, these variables will be the same for each Flutter project, assuming that our repository has a default directory scheme.
The next steps are responsible for the primary process of building our application. Install is responsible for downloading the latest version of the framework. Analyze performs static code analysis, and finally Build phase is building our project.
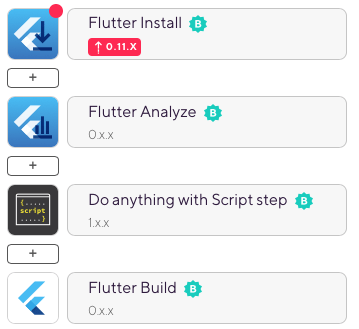
Before building the application, we added a short command that forces the XCode to use the Legacy Build System, which, in our case, is needed to create an iOS version of this particular application. Still, it is not required; otherwise, you can execute any script in the terminal or skip this step.
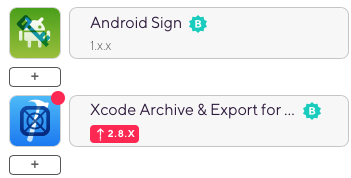
Now it’s time to sign our application with certificates, which we have to send in the Code Signing tab. Default settings inside these steps should be enough to execute them correctly.
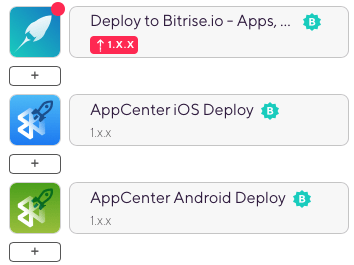
After the previous steps have been correctly performed, we can take care of sending the application files to the AppCenter.
To do this, we need to create a new access token with the Full Access privileges granted. The screen below shows where we can do it:
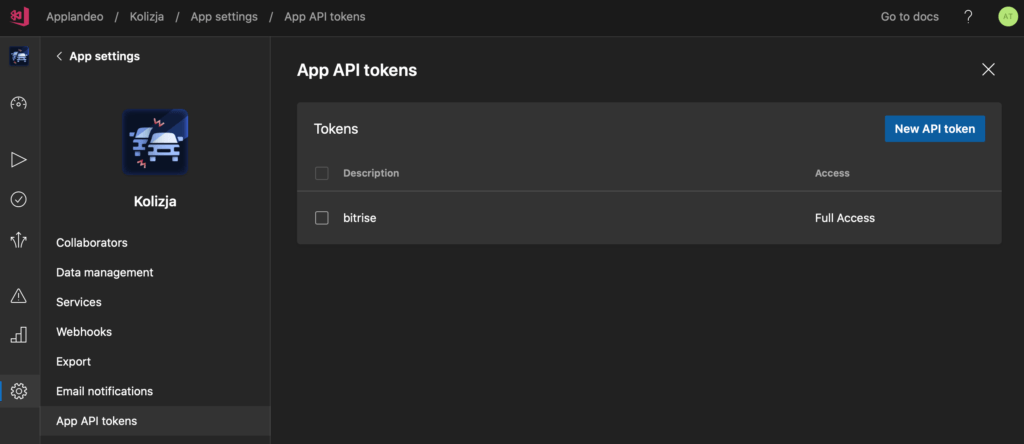
Now all you have to do is use the ready-made token in the appropriate API Token field. In this case, we keep it in the Secrets tab.
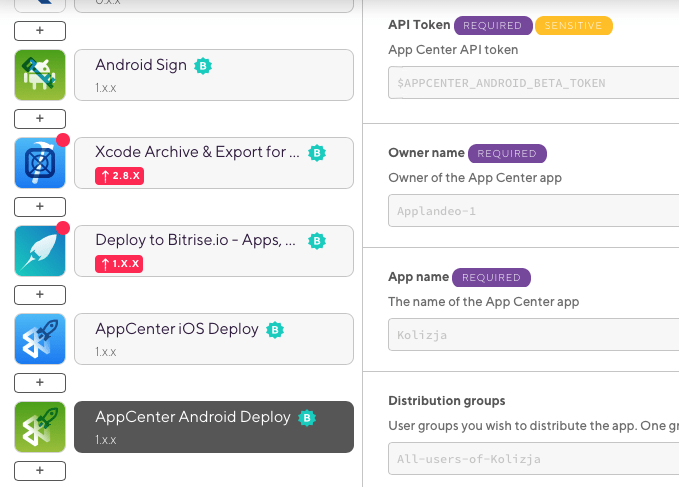
Values for Owner Name and App Name fields we can obtain from the link to our application in App Center:

Now it is enough to repeat this for the other platform, and that’s it for App Center.
At the very end, we want to send our application files to the Firebase App Distribution. We have to do this stage twice for both Android and IOS applications:
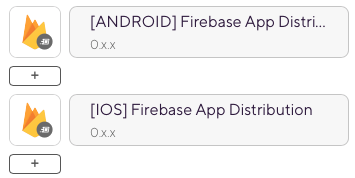
To execute this stage correctly, we need three values:
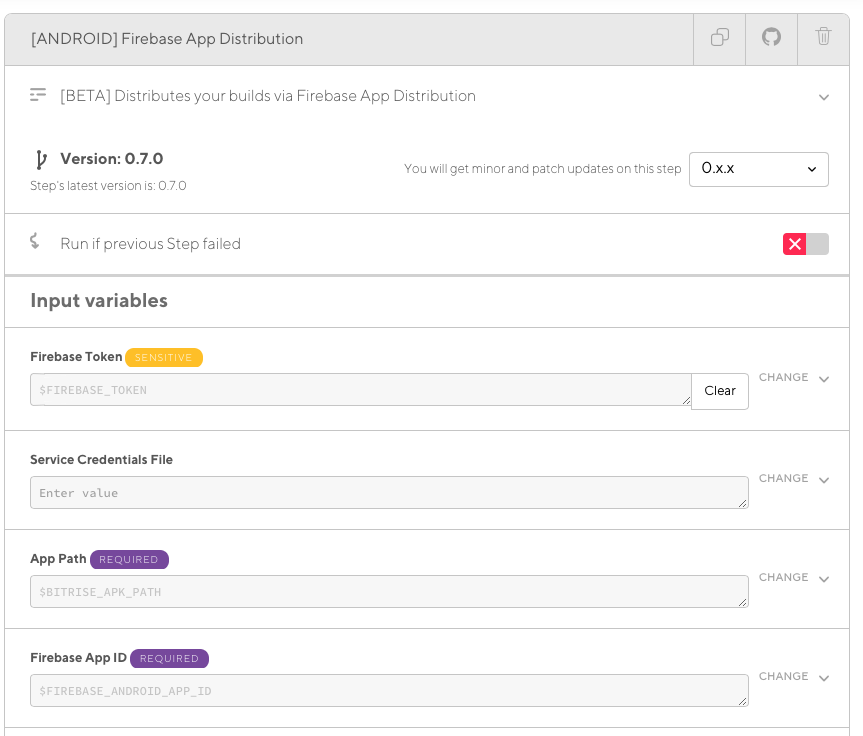
You can get Firebase Token value with the Firebase CLI. Just use the script below.
curl -sL firebase.tools | bash
firebase login:ci
App Path has already been used in previous stages. That is the path to where our signed application file is located. Firebase App ID can be obtained using the Firebase console by merely entering the Settings -> General -> Your Applications.
The whole workflow should get completed. If our application is built correctly, a new version of the app with version number sets in pubspec.yaml file. As you can see, the setup process itself is straightforward and requires little input from us.
 Hi, I’m Marcin, COO of Applandeo
Are you looking for a tech partner? Searching for a new job? Or do you simply have any feedback that you'd like to share with our team? Whatever brings you to us, we'll do our best to help you. Don't hesitate and drop us a message!
Drop a message