
Step-by-step Guide to Getting Your App on the App Store
Find out how to submit your iOS app to the App store with this step-by-step tutorial.
Find out how to submit your iOS app to the App store with this step-by-step tutorial.
Regardless of whether you’re new to building a mobile application or not, it’s important to know the process of uploading your app to the app store. Guidelines change, so if this is not your first time, it’s possible that there are new rules that may surprise you in the process, so follow this guide. Publishing a work to which we have devoted a lot of attention and work can be stressful, that’s why in this article, I’ll show you the steps you should follow in order to do it quickly and accurately.
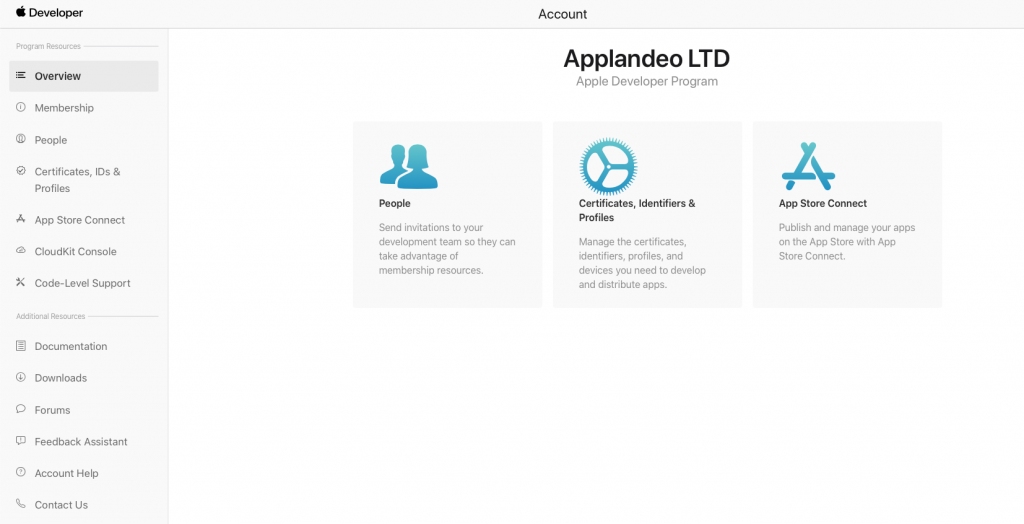
First of all, you have to enroll yourself in the Apple Developer Program. Without it, you won’t be able to move on. This is a step you can’t avoid. Membership for individuals is $99 per user per year. You’ll get access to submit apps to the App Stores on all Apple platforms, Beta versions of Apple Software, the testing tool TestFlight and the ability to create Safari extensions. These are amenities that would need in the future anyway. The membership lasts for a year. This program provides everything you need to build apps with advanced capabilities and make them available worldwide.
The next step is to select the application profile, the market you’re targeting, and the platform you’re building on. You’ll have to give some information like the name of your app, description, and category. Create a distribution certificate so if your Apple Developer Program membership is valid, your existing apps on the App Store won’t be affected. To do that, you just have to add a new certificate to your Apple Developer account.
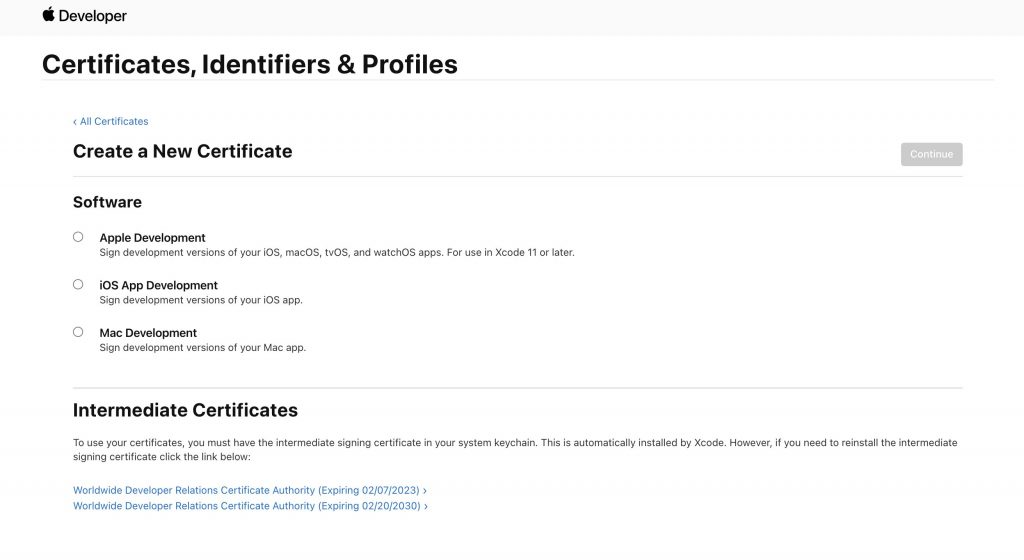
If you’re not sure how to create an App ID, click on “Certificates, Identifiers, & Profiles.” where you added your certificate, similarly click the Identifiers button and “+” to create a new one. Confirm and press “Register.” The advantage of this creation is that the website seems more intuitive when you know what you are looking for and tells you where to go. It is structured in such a way that you will successfully go through each stage of registration.

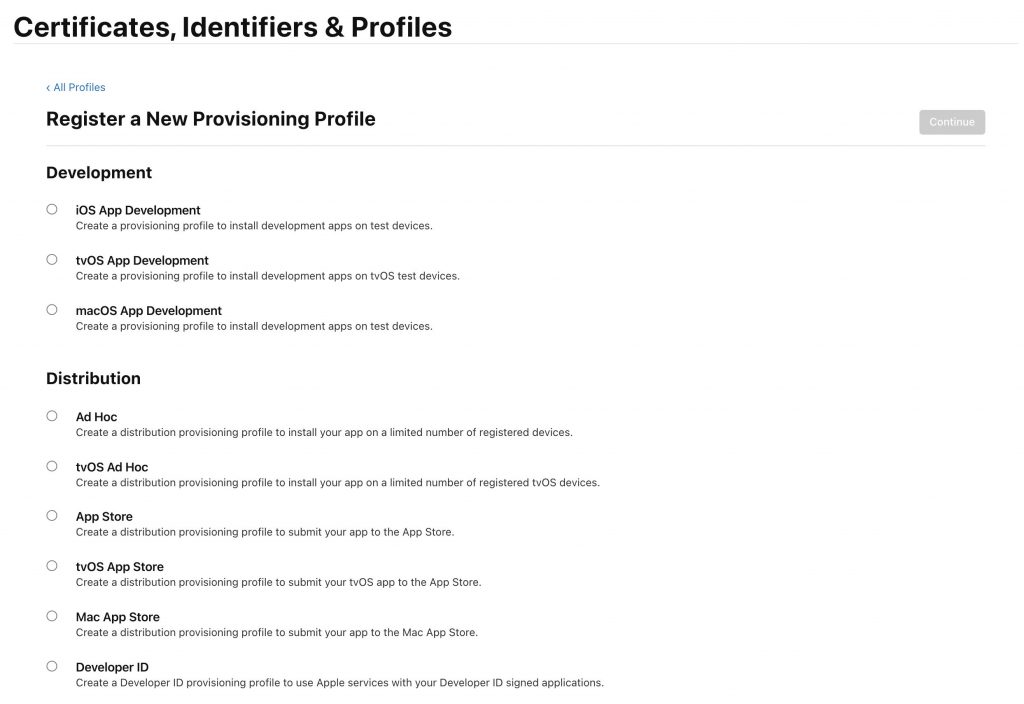
To create a Production Provisioning Profile, I’m sure you know by now that you have to go to Provisioning Profiles click “+” sign click the App Store Distribution option continue to select your ID and certificate generate download install the provisioning profile on your computer by double-clicking, and you’re ready.
This part may seem the most complicated, but you will quickly see that it is enough to do everything in sequence. Don’t deviate from the order of filling in the forms, and don’t skip the required fields unless you don’t have some of its fragments ready. Then you should come back to complete the information when you have all the necessary data. This way you won’t get lost.
Now your app has to go through an app certification process, but you are safe because you already added your certificate. You’ll have to test to see if the application complies with the App Store guidelines. If needed, carefully go through every detail of the guideline document to make sure you are not missing anything important. This is a necessary step before making your work public.
Finally, time to upload your app!
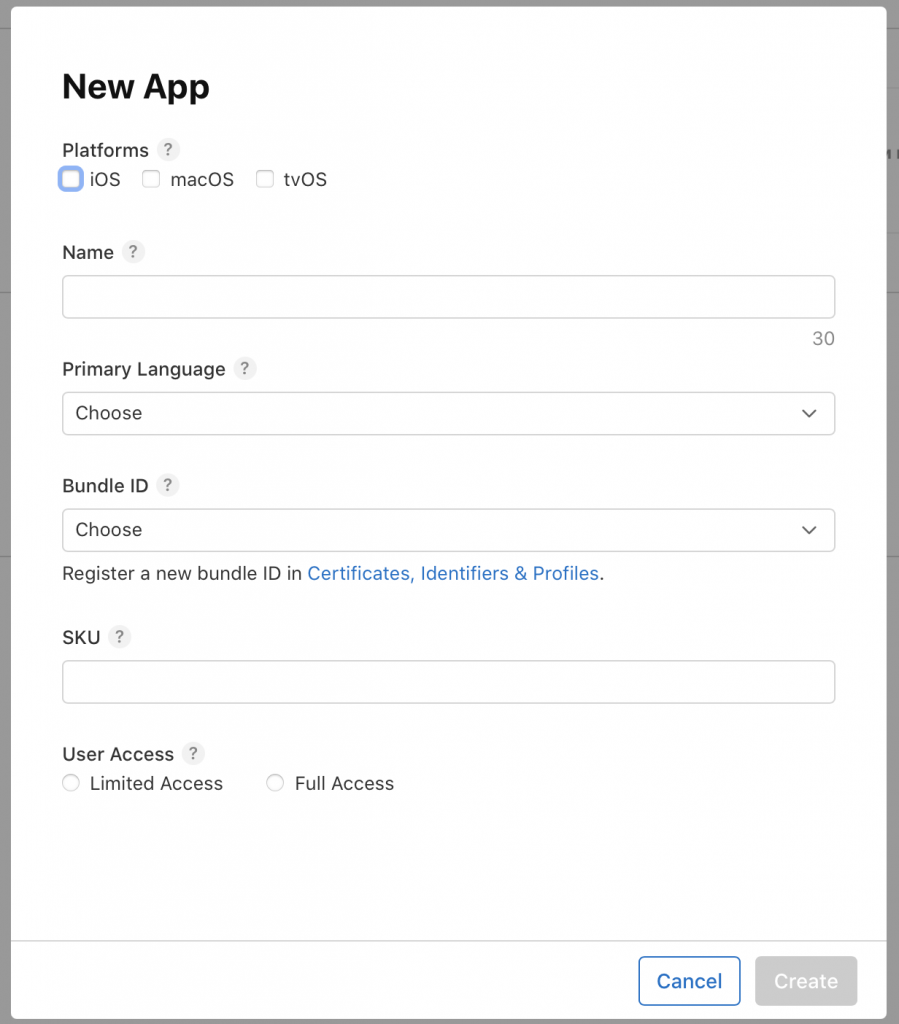
First, log in to the App Store Connect, go to “My Apps” and select a plus symbol. You’ll see a New App form that you will have to complete. It will ask about the platform, name, language, Bundle ID, SKU, and the users’ access.
If you are not familiar with writing Privacy Policy URLs, there are many templates that you can use for your app.
Now you have to decide how your app is going to be published. You can set up a date, do it immediately – which is as soon as it passes the certification process, or manually – whenever you want and do it yourself by using App Store Connect.
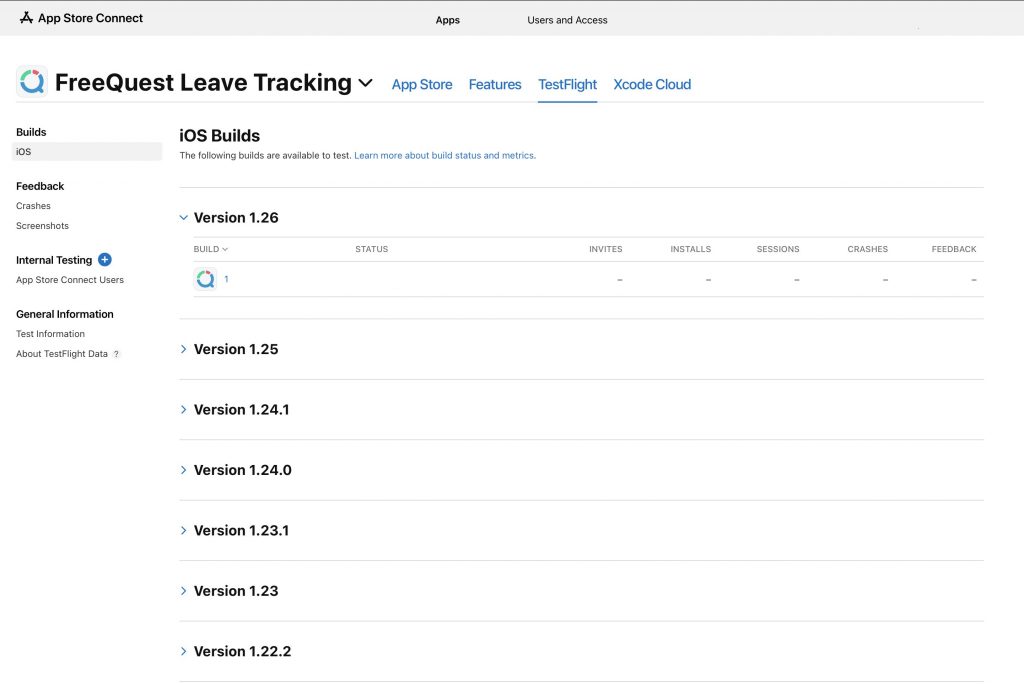
If you’re in the double-checking stage, check if your app is bug-free. It will not pass if there are any crashes. Of course, you can test everything yourself, or you can ask for help from other minds. To do it, you can use the TestFlight tool. It makes it easy to invite others to test your app and collect valuable feedback before releasing it.
Thinking outside the box is recommended. You and your testing team do your best to check every detail. Where could you go wrong? Did you miss something? Outthink yourself!
Every element on your App Store Product Page has a crucial role in driving installs to your mobile app. The role of this page is to showcase your app’s core value and to drive users to download your app. I hope that by now you already have a descriptive name and an idea for a matching icon. Most people are visual learners, so something has to catch their attention before they start using the application. How do you decide to choose an application by entering a phrase in the App Store?
Provide a set of screenshots for all device types. You’ll find there a list of devices and their sizes of displays. Use high-quality screenshots of your app. The easiest way for beginners is to launch the app in the iOS simulator, navigate to the screen you want to take a screenshot of, and hit CMD+S. It will create a good screenshot that you could use. Upload them to your app store listing.
You can use a mock-up template, but for that, you’ll need some graphic design tools. There is some free software that you may find useful.
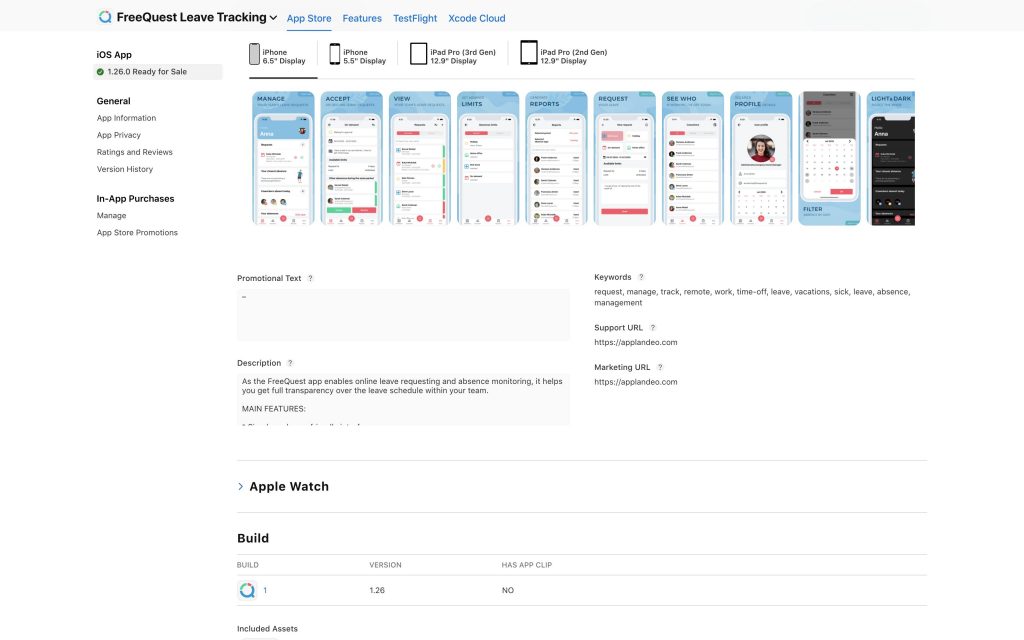
Go to App Store Connect again and find the “App Information” page. There you can add additional languages, categories, and the app’s Privacy Policy URL. You can choose your app to be free or select its price. To set that, go to “Pricing and Availability.” Check all tabs to see if you are not missing anything like features or activity. You can add configurations to any App Store technologies in your app, like Game Center and in-app purchases. Click “Save” in the upper right corner of your page after you have finished uploading everything.
At this stage, you should be sure that everything is squared away. Don’t question everything you’ve done so far, don’t change anything you originally thought was best. Remember that the first thought is always right.
Submit your app for review and wait for the approval. This process can take a couple of days, but if you’re lucky, you might get your feedback in one day. There is really no pattern for that. If it’s approved, you are officially on the App Store. You will be able to track all downloads, sales, ratings, and reviews. Don’t worry, you won’t miss it — you’ll get an email with the decision.
I hope this article was helpful, and you now know what application uploading in the App Store looks like and how to carry out the whole process properly. The complexity of the procedure is due to the high requirements of Apple. However, this platform provides developers with more opportunities to monetize and popularize their services.
If you still have any doubts, or you have not learned about all the key issues from the article – it is possible that the short instruction is included in the form you are currently filling out for uploading your application. Most of the forms you need to fill out contain in their name what you have been asked to do, so don’t try to find the answers far away.
 Hi, I’m Marcin, COO of Applandeo
Are you looking for a tech partner? Searching for a new job? Or do you simply have any feedback that you'd like to share with our team? Whatever brings you to us, we'll do our best to help you. Don't hesitate and drop us a message!
Drop a message