
How to Get Your App on the App Store
Getting your app on the App Store is a vital final step to launching your product to the world. Here’s our guide on how to do it.

Getting your app on the App Store is a vital final step to launching your product to the world. Here’s our guide on how to do it.
The App Store has been a trusted place for app developers and downloaders for over ten years. It’s an innovative platform that ensures applications available in the App Store are safe and meet all the requirements of even the most demanding users. It offers many applications that are intended to entertain, educate or help on a daily basis.
Every day there are many people who would like to introduce their own products to this huge market. Creating an app that follows the guidelines from the beginning of the development process is vital to getting your app on the App Store. Once you have it, all you have to do is successfully upload it. If you don’t know how to do this, here are some things you need to keep in mind so that your application is not rejected during the process.
So now you’re ready to submit your iOS app to the App Store. Before you do that, be sure to set up an Apple developers account and enroll in the Apple Developer Program. You’ll also need an App Build that’s tied to your developer account. Once you have these things in place, you can start submitting your application.
If you didn’t think of a compelling name as you developed the app, now is the time to do it. It would be good if it had a connection to what your app is about, what it’s for, or who will be using it. If you are brave, bet on something unique. The name should fit the target market you’re after and resonate with them.
When you create a new app in App Store Connect, it’ll ask you which language the app will be in.
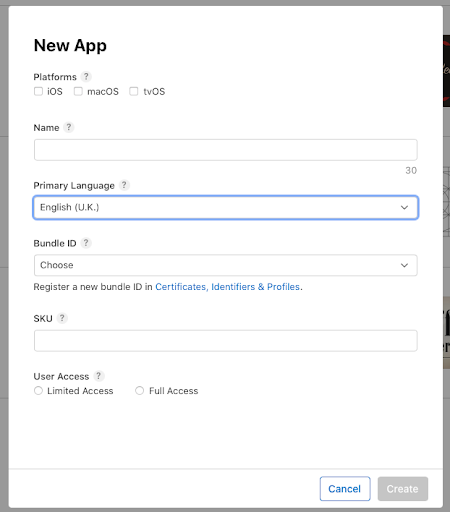
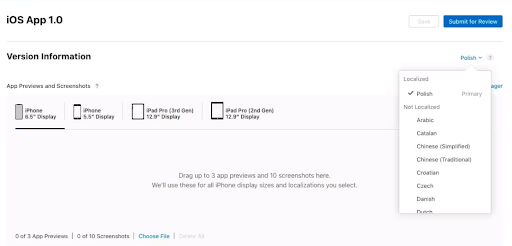
Get your Bundle ID before you assign capabilities with the Bundle ID Capabilities resource or create a provisioning profile with the profiles resource. A good practice is to use the name in the Bundle — com.example.AppName, for example. It allows you to connect third-party services Apple offers.
Stock keeping units or SKUs are unique IDs for apps in the Apple system that users rarely see. These are identifiers for your bookkeepers to track in-app sales. You can use letters, numbers, hyphens, periods and underscores. The SKU can’t start with a hyphen, period, or underscore, however. Use a value that is meaningful to your organization.
Once you’ve filled in the initial information, now add in the visual assets of the app. Screenshots are essential to your app’s success. They illustrate compelling stories, showcase the app’s primary function and are the first thing users see when they search for your product. So catch their attention.
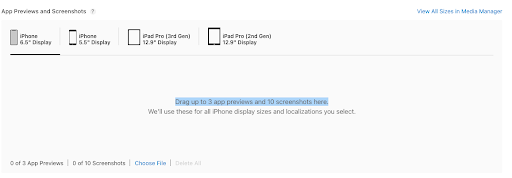
It’s your time to shine. You did everything to make the application interesting or helpful, but you have to help it with an interesting promotional text. Describe why it’s worth downloading your product, what advantages it has and why it is impossible to function without it. Show off all its strengths.
The words that you place in the app name and app subtitle are crucial to your app’s discovery and your overall App Store optimization strategy. Think about what a person who would like to download an application like yours would type in the App Store search box? This is where some good keyword and competitor research comes in.
A brief, but specific write-up influences your product’s success. If you are not creative enough, search for some examples and customize yours based on those found online. Remember to use proper grammar and focus on the most important features.
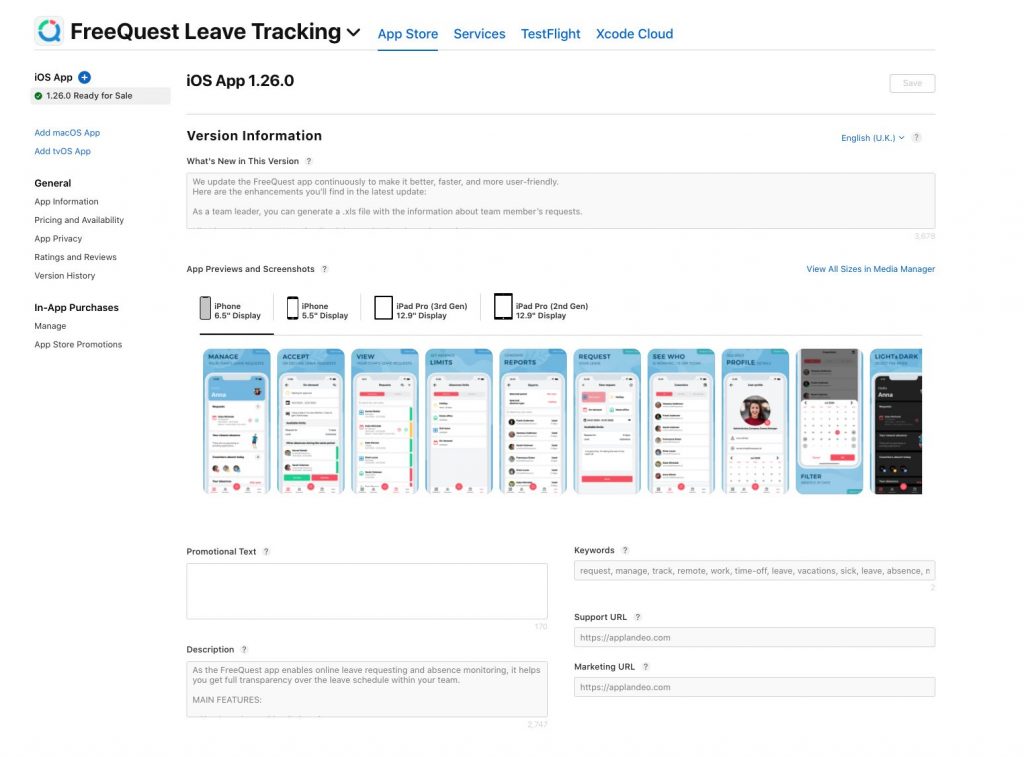
Be sure to include any relevant contact info for anyone seeking support or suggesting new features. This is optional, but it’s a good way to be responsive to your users.
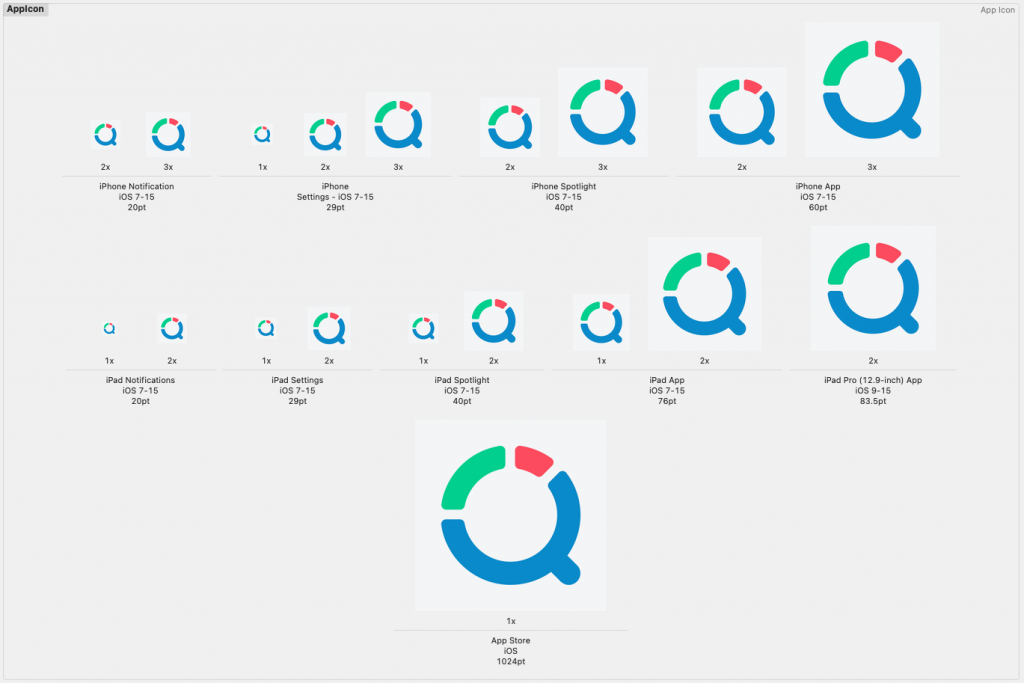
Whether you’re designing your app store icon yourself or delegating to a designer, you have to have a coherent vision for the brand. Branding aside, however, be sure to upload the correct size icon to the App Store.
Select the category where the application belongs. This way, people searching for solutions to the problems they face can find your app, if it is in the right place. Your primary category should be the one that best describes the main function or subject matter of your app.
Providing App Review information plays a role in how people perceive your app. If your app requires specific settings, user account information, or special instructions, include these details in the App Store Connect section “App Review Information.”
Provide age-related information so the App Store can determine the age rating for your app. You must fill out this information before submitting your app for review. This little piece of information next to your app’s description is a clue to who the app is intended for and whether it has content that’s unsuitable for children.
You’ll need to provide information about your app’s privacy practices, including the practices of third-party partners whose code you integrate into your app in App Store Connect. Users will be able to know these details before downloading the application.
This is simply a link to an internet page where your Privacy Policy is posted so that potential users can refer to your policies before using your app. It should include how you collect the information, what you do with the information you collect, any third-party access to the collected information.
If your app contains, displays, or accesses any third-party content, you must have the rights to it or be permitted to use the content. Be sure to include a statement about your right to distribute copyrighted content.
It’s time to select in which countries your app is going to be available. You can choose “All Territories,” but it’s recommended to start with a smaller area, especially if your native language is only spoken in a specific region. Obviously, if the app only applies to a country-specific service, limit the reach to the country.
If your app is not free, think about pricing. Browse through similar applications that are already on the App Store, compare prices and evaluate yours in a way that is beneficial for yourself, but also is affordable for those who are interested. If you are sure that your app will be successful, take this into account when determining its price.
Extra content or more exclusive subscriptions are some of the app purchases that you can include. This is optional, but there are three types of in-app purchases: subscriptions, consumable purchases, and non-consumable purchases. They are a one-time charge. Of course, your application does not need to have this, it is entirely up to you.
While the process of submitting your app to the App Store is straightforward — especially if you’ve worked with a professional app development team from the beginning — there are a few issues that you can’t neglect. With this guide, you’ll surely not miss any important steps to successfully upload your app to the App Store. If you’ve covered the aspects listed in this article, you can be sure that you haven’t missed anything and that people will find and start using your application.
 Hi, I’m Marcin, COO of Applandeo
Are you looking for a tech partner? Searching for a new job? Or do you simply have any feedback that you'd like to share with our team? Whatever brings you to us, we'll do our best to help you. Don't hesitate and drop us a message!
Drop a message