Binding Objective-C Payleven libraries in Xamarin iOS
Payleven doesn’t provide support for Xamarin, so use their iOS Framework and devices. Learn how to begin with Payleven SDK in Xamarin iOS.

Payleven doesn’t provide support for Xamarin, so use their iOS Framework and devices. Learn how to begin with Payleven SDK in Xamarin iOS.
The current generation of business apps takes advantage of unique external devices which expand mobile system capabilities. Sometimes you want to use less popular solutions which don’t have full support for Xamarin. In those situations, you will need to use third-party libraries and binding projects.
To learn more about binding projects be sure to read through general topic connected with Binding Objective-C Libraries from Advances Topics in Xamarin. The full article is available here: Binding Objective-C Libraries
Today we will show you how, to begin with, Payleven SDK in Xamarin iOS. Payleven offers you card payments the way you want. Their devices are contactless and are using Bluetooth technology. So far Payleven doesn’t provide support for Xamarin, so we must use their iOS Framework. Fortunatelly for us we got one of their devices and we can test them for you.
Payleven documentation is available here: Payleven mPOS SDK Reference
Just for your convenience, we split this article into two parts:
1. Creating sample iOS project & binding library
2. Making your first mobile payment with Payleven Framework
Create a new solution and merge two projects:
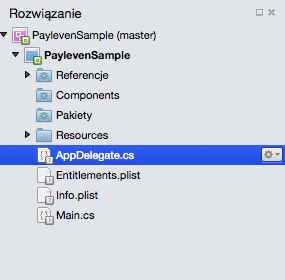
Step 1.0 – Payleven Sample iOS Project & Solution
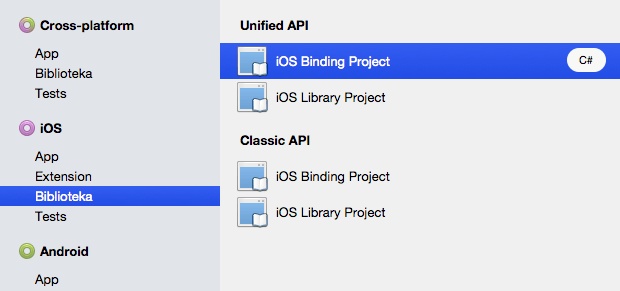
Step 1.1 – Payleven new Binding Project
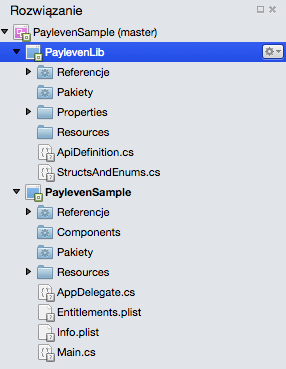
Step 1.2 – Payleven complete solution
After creating a new solution with two projects inside add PaylevenLib as a reference in PaylevenSample.
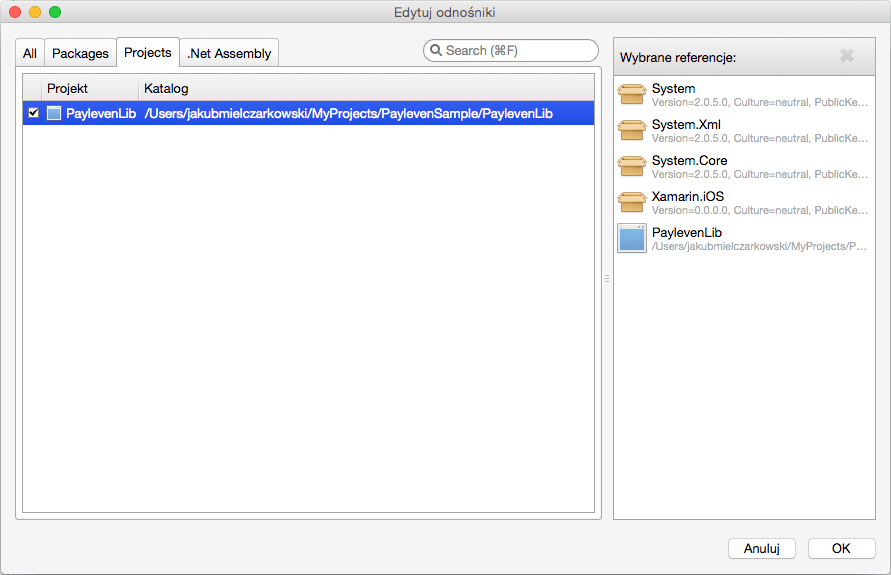
Step 1.3 – Adding reference
Prepare Payleven SDK files
Payleven SDK for iOS is available. Save it to your hard drive.
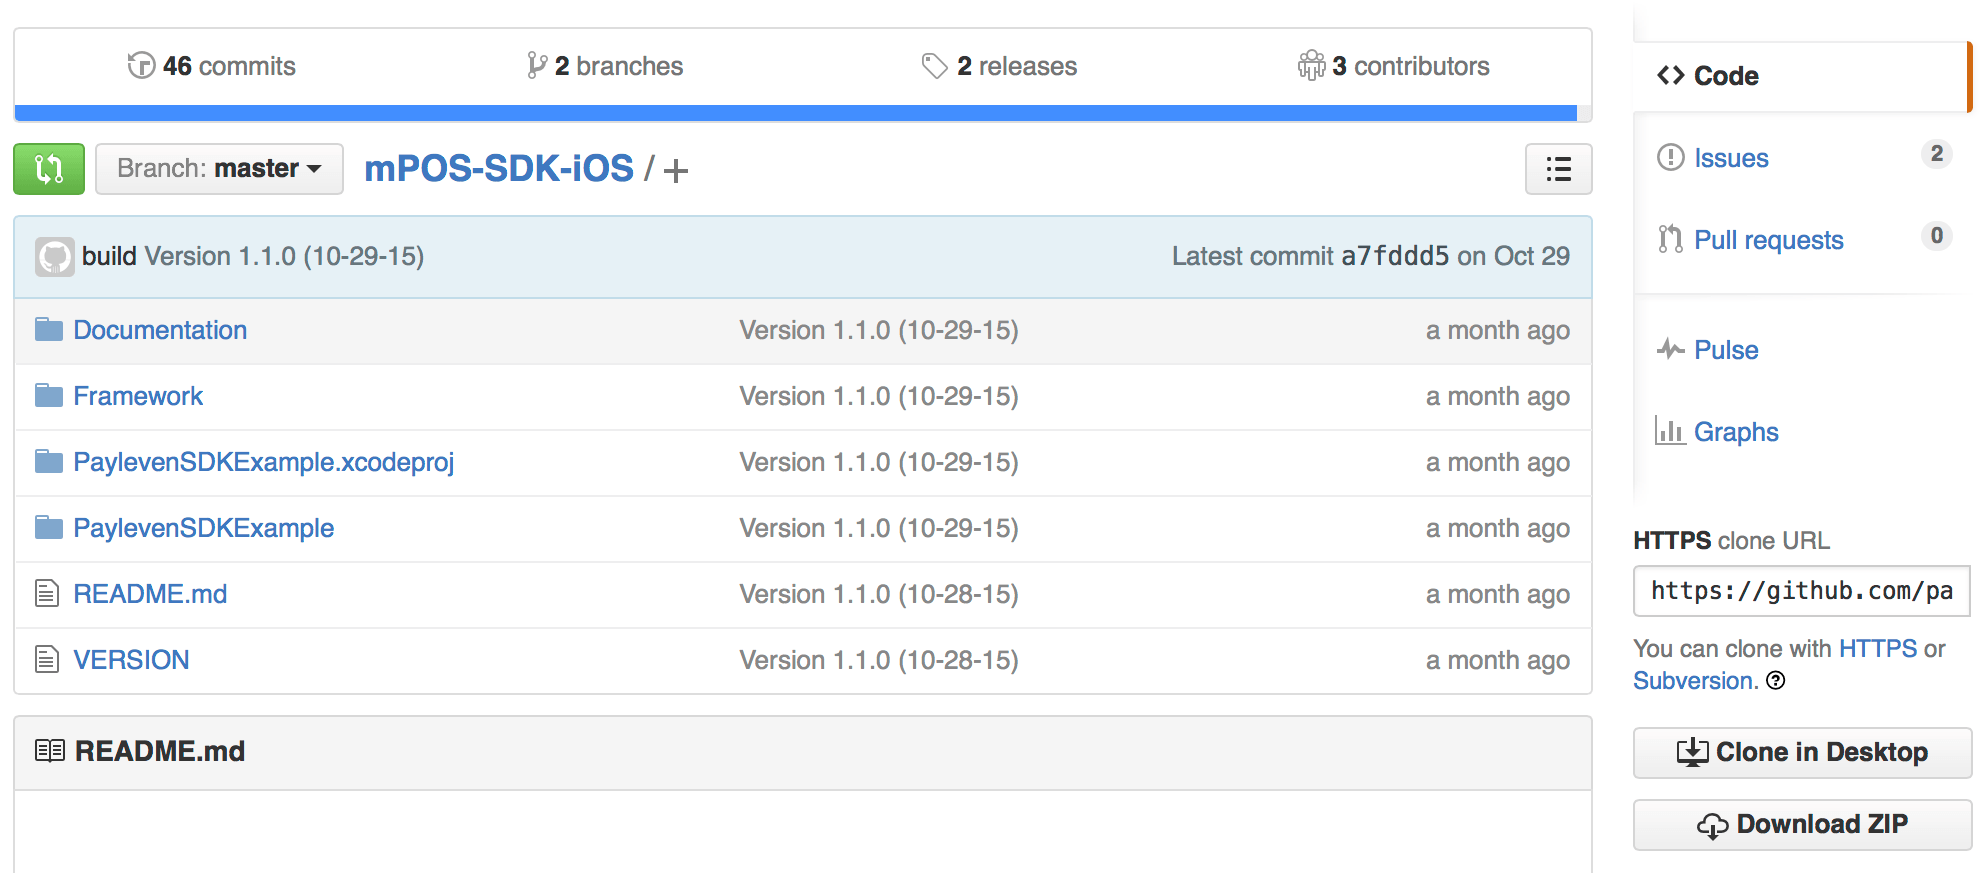
Step 2.0 Github SDK
Then extract files from Framework/directory that are necessary in our project:
Before we will add those files inside our project we need to rename two files:
Files should look like on the image below:

Step 2.1 All necessary files
Put Payleven SDK / AdyenToolkit into the binding project
Click on PaylevenLib project (main directory) and add an existing folder with your files. Then select all files without AdyenToolkit.bundle and OS system data.
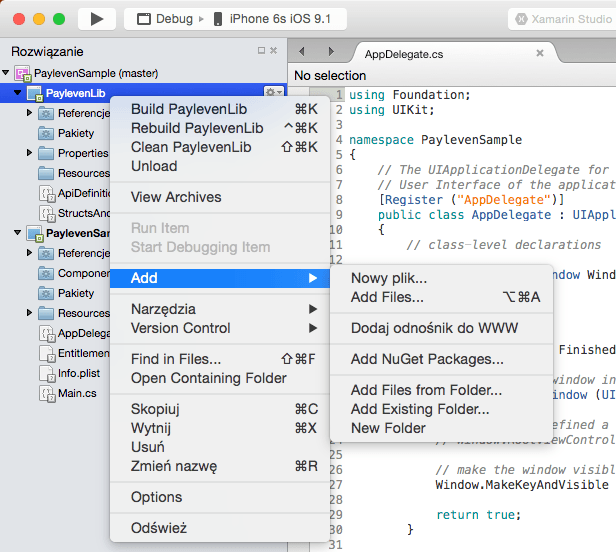
Step 3.0 – Add files to project
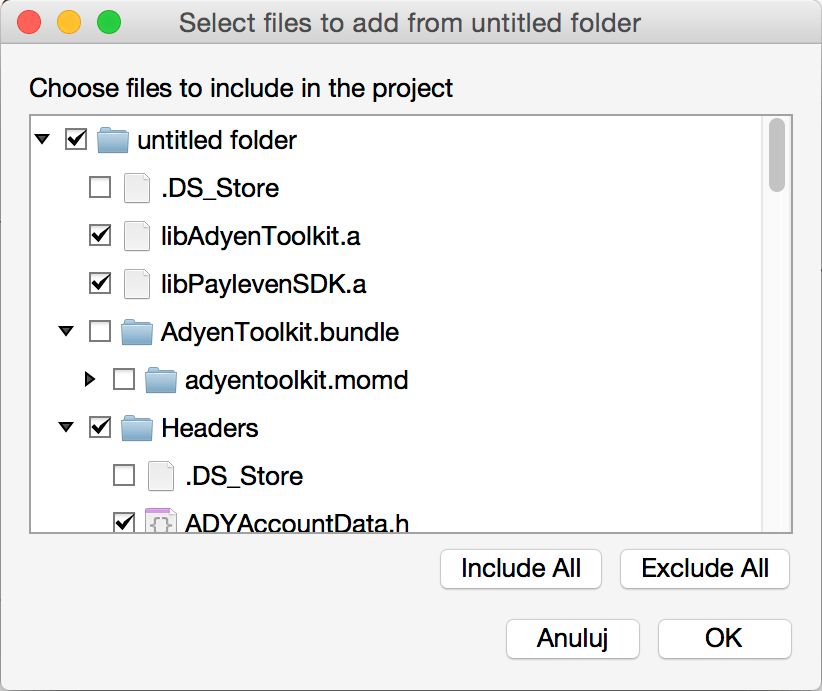
Step 3.1 – Adding files dialogue
AdyenToolkit.bundle should be inside Resources folder, so select Resources folder and then click add existing folder and select correct one. After this your PaylevenLib project should look like:
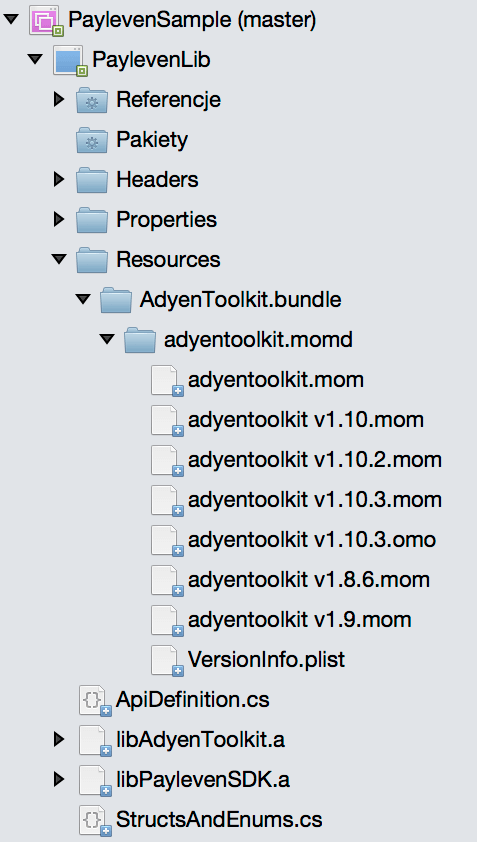
Step 3.2 – All files inside the project
so check if:
Set LinkWith attribute for binary files
After you added libAdyenToolkit.a and libPaylevenSDK.a your IDE created two files with extension .linkwith.cs.
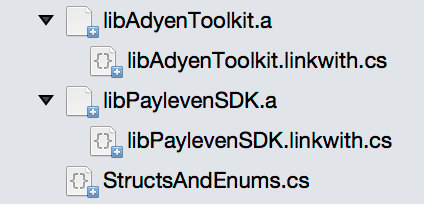
Step 4.0 – Link with files
Default file looks like:
using System;
using ObjCRuntime;

[assembly: LinkWith ("libdefault.a", SmartLink = true, ForceLoad = true)]
Those files contain information for linker that you need an update with link targets, frameworks and flags. They are specified in Payleven documentation:
CoreData.framework
CoreLocation.framework
ExternalAccessory.framework
SystemConfiguration.framework
libsqlite3.0.dylib
So, your updated files should look like:
[assembly: LinkWith ("libAdyenToolkit.a",
LinkTarget.Simulator | LinkTarget.Simulator64 | LinkTarget.ArmV7 | LinkTarget.Arm64, SmartLink = true, ForceLoad = true,
Frameworks = "CoreFoundation CoreText UIKit Foundation CoreLocation ExternalAccessory SystemConfiguration CoreGraphics",
LinkerFlags = "-lz -lsqlite3")]
[assembly: LinkWith ("libPaylevenSDK.a",
LinkTarget.Simulator | LinkTarget.Simulator64 | LinkTarget.ArmV7 | LinkTarget.Arm64, SmartLink = true, ForceLoad = true,
Frameworks = "CoreFoundation CoreText UIKit Foundation CoreData CoreLocation ExternalAccessory SystemConfiguration",
LinkerFlags = "-lz -lsqlite3")]
As you see there are targets that I will use in our project and some frameworks that are required for assemblies to work correctly.
Update ApiDefinition.cs & StructsAndEnums.cs
The last step is to simply set up new definitions of interfaces that are defined in our assemblies.
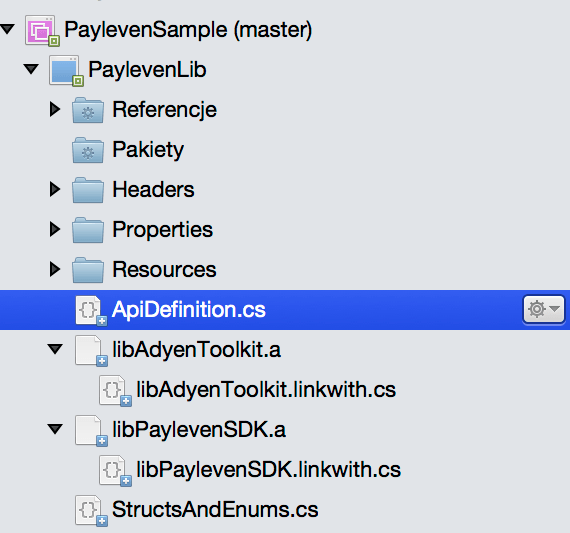
Step 5.0 – API definitions
This step is the most time-consuming step. This is the list of interfaces that we need to declare to make payment in our sample app:
Some of those interfaces require additional enumeration types which we declare in StructsAndEnums file. For example, PLVPaymentResult interface contains method State which returns one those types like Approved, Declined or Cancelled. What we need is a missing declaration of enumeration PLVPaymentResultState in our project.
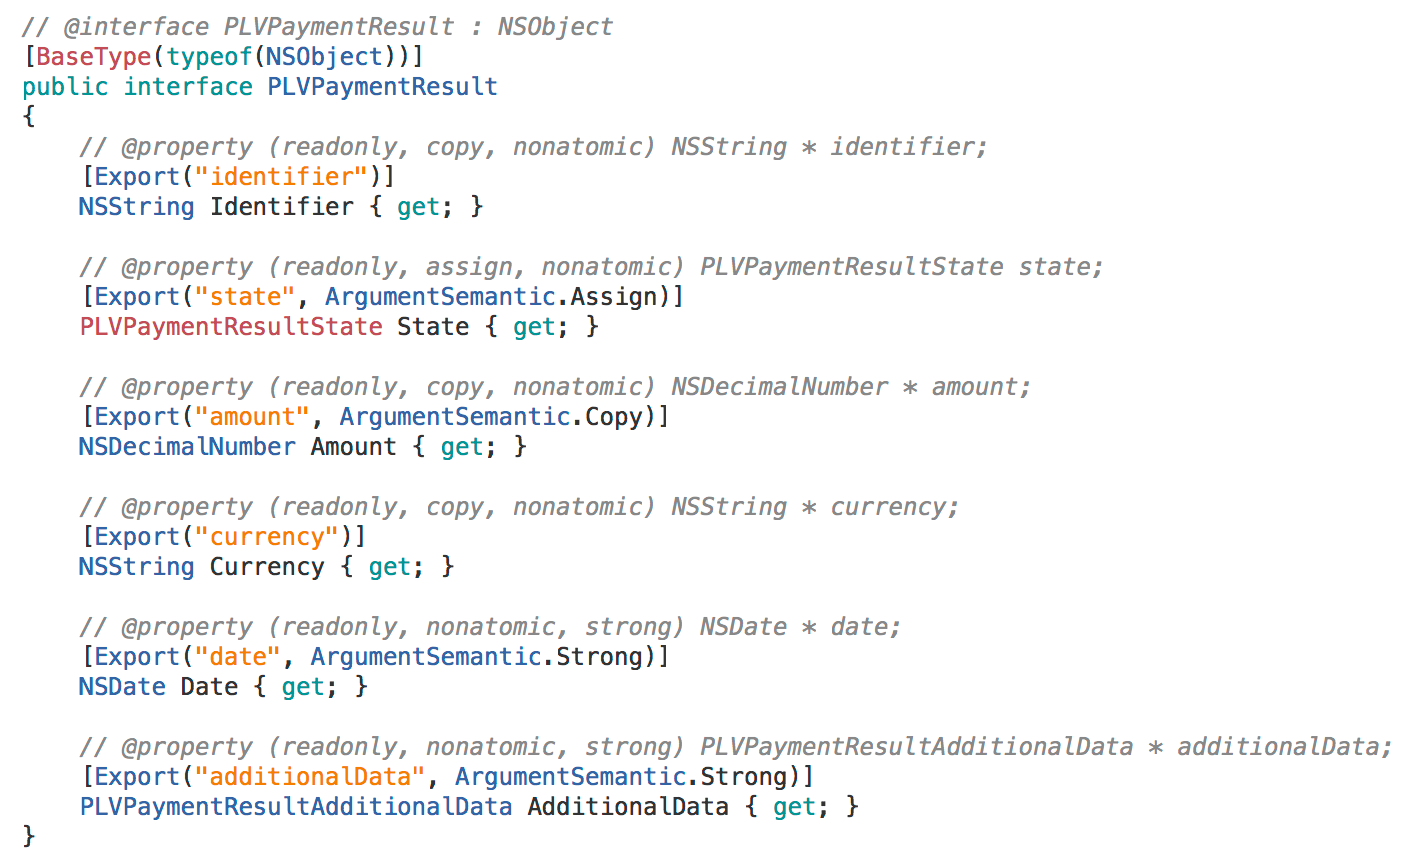
Step 5.1 – Interface declaration
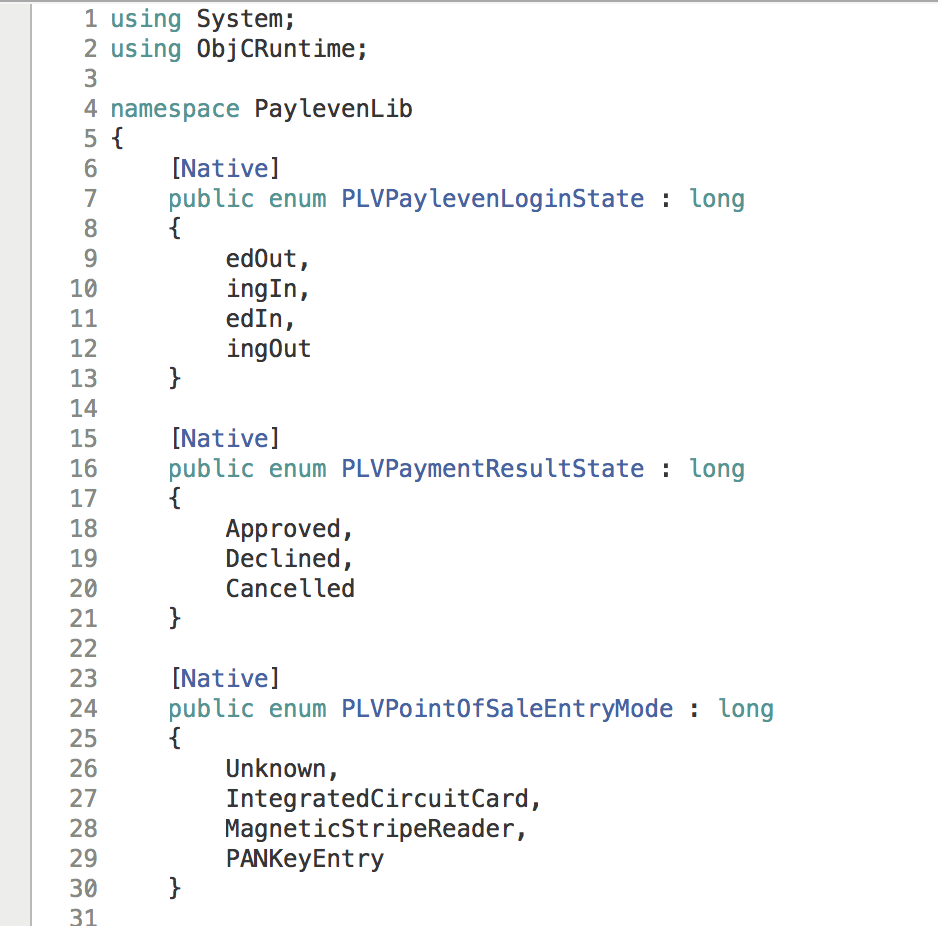
Step 5.2 – Enum declaration
Now check just to be sure if you are able to compile the project without any errors and we can move on. You can check out the full source code for the Payleven sample application shown above on my GitHub.
 Hi, I’m Marcin, COO of Applandeo
Are you looking for a tech partner? Searching for a new job? Or do you simply have any feedback that you'd like to share with our team? Whatever brings you to us, we'll do our best to help you. Don't hesitate and drop us a message!
Drop a message